Monday, February 26, 2018

Christmas All Year Block 2 - Dutchman's Puzzle

Do you still have those Christmas fabrics out so you can quilt along with me?  Or did you decide to make your blocks in different fabrics?   I'm really enjoying my Christmas prints, and am looking forward to working with them all year long this year!

This month's block is Dutchman's Puzzle.

I love the movement in this block, and it's super easy with just two colors, background and one simple unit!

For this block I wrote the instructions using the four at a time method for making flying geese.  I used the Creative Grids Ultimate Flying Goose tool, but there are many different tools for trimming up your geese.


You'll need two large squares of red and green, and 8 small squares of your background fabric:
Draw a diagonal line on the reverse of the background squares.  Then place one on opposite corners of large squares

Sew 1/4 inch away from the line on each side
Cut on line and press background triangles out and you will end up with heart shaped units:
Place another background square on each corner.
Sew 1/4 from each side of line, cut on line and press background pieces out.  You'll end up with four flying geese units of each color.  Sew pour pairs with the green on the top.  Sew together as illustrated and you end up with a lovely Dutchman's Puzzle block!

Enjoy!


Saturday, February 24, 2018

Project Quilting - Mellow Yellow


This week's Project Quilting challenge (Mellow Yellow) was quite serendipitous as I had unearthed a bundle of leftover fabric that featured a lovely floral print on yellow.  These were the pieces I had left after making a round robin quilt - one 3/4 yard piece of fabric, and a long piece that was 20 inches wide.  I also had a bit of light blue, and piece of yellow from my finished quilt.

 I decided that this week I wanted to make a larger project than usual so that I could make the best use of the nice piece of fabric I had plus some other pieces from my stash.  I went to EQ8 and started deciding on my design.  I came up with a two block quilt that I thought would look lovely in yellow and blue, and it was time to find the rest of my fabric.

Since most of my "stash" consists of pieces that are around 1/4 yard I pulled out several pieces of yellow, plus a dark blue and some white on white.  I have plenty of yellow, so it was fun to find several that would work well for my plan!

I started out with the Star Shadow block and made 5 of those.

Then I added the alternate blocks.
I purposely matched the yellow in this block with the outer triangles in the first block to add a little depth to my design.  By this time it was late Friday afternoon, and I knew I was going to have to hustle to get this quilted on time!

I pieced the back from the remaining floral fabric, and yet another piece of yellow from my stash (did I mention that yellow is a favorite of mine?)  and set to work quilting.

I used my waking foot to do some stitch in the ditch around the alternate blocks, then stitched around the stars.  I decided to do a smallish stipple, including the yellow inner border.

I was thinking of doing some straight lines in the border, but decided that my usual swirl would be a better choice and keep the border laying nice and flat.

I finished it, but not in time to take advantage of the lovely sunshine we had for a while this afternoon.  But this quilt looks like sunshine all on it's own, I think!

Maybe now I can get that catchy tune out of my head :)

This quilt measures 40 x 40 inches, and was created by me in Coos Bay, OR.

Sunday, February 18, 2018

A good day to stay in and sew!

Brr.  It's cold and nasty out today, wind and sleet - perfect day for staying and and sewing away! I'm staying warm under a couple layers of quilts today, sewing on some overdue labels again - I can't believe I have 10 more that need them sewn on already.
I print the labels on white fabric, then add a colorful border so they look a little nicer.  Then I pin them on and stitch them while sitting and watching TV with my husband.  Nice to have some hand stitching on a stormy day like today!

Yesterday I managed to finish two more blocks for my Crazy Jane -

I had to applique the center on this one twice.  The first time I accidentally sewed it on with the crosses going the wrong way.  Grrr!

This one was a little easier, and just a touch of applique for the center diamond.  Seems like most of these blocks have applique - I think I skipped those and worked on the pieced ones first, so now I have most of those to do now that I'm near the end...shame on me!

Now I'm off to the sewing room to tackle a couple more blocks.  I hope you are having a pleasant day of stitching, too!

Linking up with Kathy Quilts for Slow Sunday Stitching.


Slow Sunday Stitching


Friday, February 16, 2018

More Crazy Jane blocks finished

I realized that we are already more than halfway through the month and I have not done a single block on my Crazy Jane quilt!  I'm supposed to get two rows finished this month, and I need to make about 17 blocks to meet that goal.  So I guess I'd better get cracking!  I managed to finish up four new blocks in the last two days.  The first block is H1 - Peek-a-boo.  I did this one with traditional piecing.  The measurements were just slightly off of your normal even measurements, but I managed and it came out perfectly!

The next block was H2 - Jacob Anthony.  I printed out foundations for piecing the triangles, then used freezer paper templates and sewed the background pieces on traditionally.  Then I appliqued the triangles on the corners.  I was pleased with the results!


The third block was H3 - Berry Basket.  Foundation piecing all the way on this one, and it didn't take very long finish!


The final block is H6 - Pie sale.  12 tiny quarter circles to applique, but after that it sews together easy as "pie"
Tomorrow I am concentrating on seeing if I can finish the rest of row G so I can add it to my top!  At least now I'm just about to the point where a block a day will get me to my goal.

Are you going to get some quilting in this weekend?  I hope so!  Holiday weekends are great for quilting :)

Linking up with Finish it up Friday, and with Finished or Not Friday

Tuesday, February 13, 2018

Mini Love Challenge from Island Batik

#islandbatikambassador #minilovewithislandbatik #islandbatik #iheartislandbatik #miniquilt


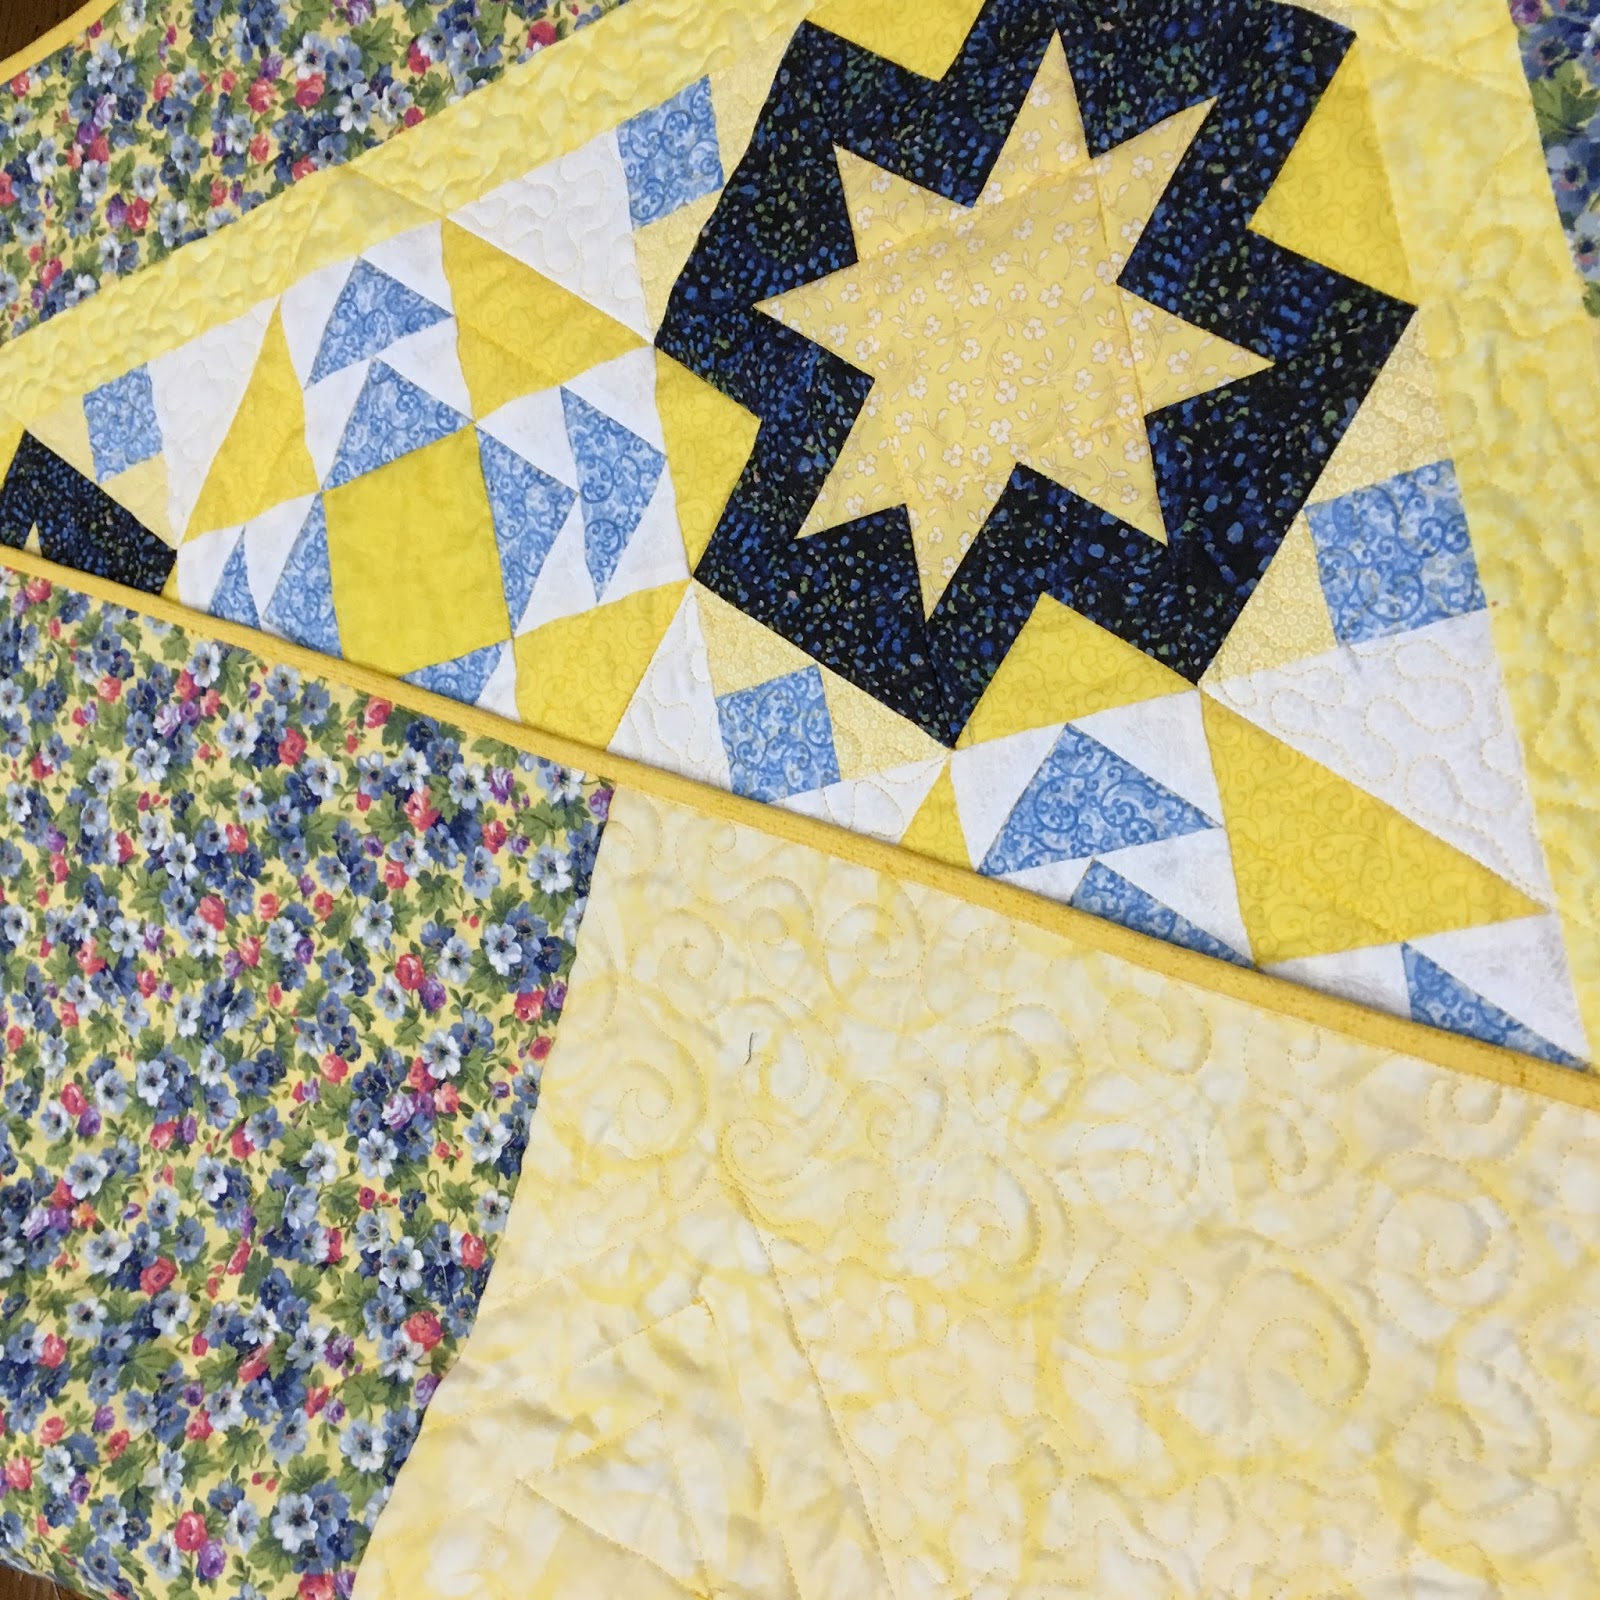
I am continuing on with the heart theme this week, and I have my second February Island Batik Ambassador challenge ready to show you today.  (Fabric for this challenge was provided by Island Batik.)  Since the theme of this challenge was Mini Love I decided I wanted to make a mini with a heart theme.  I spent some time on pinterest looking for heart quilt ideas, and when I came upon a beautiful pin featuring a quilt by the Temecula Quilt Company   I knew the minute I saw it that I wanted to make it!

#islandbatikambassador #minilovewithislandbatik #islandbatik #iheartislandbatik #miniquilt


I didn't even blink when I read to make 89 little heart blocks to start out with, I just started cutting squares and rectangles and started sewing!  I had some pinks left from last year's Galentine's day fat quarters, plus a few pinks and neutrals from past collections to make my hearts a little more scrappy.
When my Ambassador box arrived last week, I added these fabrics to the mix as well:
The little blocks were so cute as I completed them!
Finally, I had a stack of 89 blocks completed.
That's when I checked the instructions for the next step and realized that all of my blocks were 1/2 inch too large!  Oops!

So now I had to spend a little time to trim them all down to the right measurement.  Now they were even cuter because they were tinier, though!

I cut the alternate squares for the blocks and tossed my hearts in a bin so I could sew them together randomly.

I had a bit of a time sewing them all together, I kept ending up with upside down and sideways hearts!  Eventually I got the center together, added the small border and sewed one of the side borders.
And discovered it was a bit too long!  At first I thought I would just trim off the extra, then realized that it wouldn't look very good when I sewed the top border on.  I decided to try sewing the other border with a generous 1/4 inch seam allowance instead of the scant 1/4 that I usually use.  And it did the trick, the second side was perfect - yay! 


 I removed the first border and resewed the seams between the blocks, which was enough to get it down to the correct size as well.  What a different a couple threads makes!

The top and bottom border came together almost perfectly - had to fix an upside down block, but other than that, it was smooth sailing!

And then I was ready to quilt!  I used the 40 wt Ivory thread I received in my Ambassador Box.  I decided to do a small stipple all around the hearts.
It was a little tricky getting around all those angles!

When I was finished, I decided I wanted to wash and dry it to get that nice crinkle look from the cotton batting I used.  

I love how it finished!  And it was really fun to make, too!  I just love miniature quilts!  I did not give measurements for this because you can find that information on the tutorial I linked to at the top of the page.  They have lots of mini patterns, plus free tutorials on their blog as well, so have fun checking that out!

I was so happy that I had just enough of the fabric I used in the border to make the binding as well!

I loved using the Island Batik fabrics for this mini because there is so little fraying of the fabric, which makes dealing with these small pieces much easier - those little hearts end up being 1 1/2 inches finished, and the quilt is 24 x 24 finished.  The fabrics are pinks and reds from various collections.  I love a good scrappy quilt!

Hope you like my Mini Love Challenge quilt and that you have a lovely Valentine's day!  

Linking up for Wed Wait Loss:

Happy Galentine's Day!

Wishing all of you a Happy Galentine's Day!  I really appreciate all the wonderful comments on my mug rug and the encouragement to keep sharing.  I feel very much loved and appreciated by all you lovely readers!

 (The fabrics for both of the projects below were provided by Island Batik)
I would love to see all of you to reach out and make something handmade to give away today!  Last year I wrote a tutorial for a Kisses and Hugs Mug Rug - just click the picture below to see the post.  It's an easy project, even for a beginner.
It doesn't take long to make a cute little mug rug, and you can make someone feel very loved!  There is nothing like a handmade gift.  I'll be pulling out those pinks and reds for a couple more projects today to share with someone who has encouraged me in my quilting jouney.

And if you you want more inspiration just check out the list of Island Batik Ambassadors below!  You will find plenty of inspiration from these talented ladies for more small projects that you can gift.

Barbara at Bejeweled Quilts
Bea at BeaQuilter
Carole at Carole Lyles Shaw
Connie at Kauffman Designs
Dione at Clever Chameleon
Geraldine at Living Water Quilter
Janet at Whispers of Yore
Jeanette at Inchworm Fabrics
Jennifer at Curlicue Creations
Jennifer at Dizzy Quilter
Jennifer at Inquiring Quilter
Joyce at heARTs Creations
Kathleen at Kathleen McMusing
Laura at Slice of Pi Quilts 
Leanne at Devoted Quilter
Mania at Mania for Quilts
Maryellen at Mary Mack Made Mine
Michelle at Creative Blonde
Pamela at PamelaQuilts
Sally at Sally Manke
Sandra at MMM Quilts
Stephanie at Steph Jacobson


Linking up with Connie for Linky Tuesday

I wish you all a happy day today - I hope you know that I appreciate you and consider you all to be my friends, too, even though we've never met!

Monday, February 12, 2018

Giving makes you feel wonderful inside!

Thanks for the lovely comments on yesterdays post, and for asking about, as Paul Harvey would say, "the rest of the story".

 I carefully placed the mug rug in my purse and we headed to church.  When we arrived, our usual greeters were not there, and we started down the hall to the sanctuary.  As we got about half way down, from around the corner came one of my very favorite people - Grandma Nancy.  We have known Grandma Nancy for all of the years we have been attending Hauser Community Church (which is a bit over 30!).  She has been in charge of Sunday School for the kids, does a radio show on Saturday morning {which my kids listened to every week!) worked in AWANA, was our area coordinator for Child Evangelism Fellowship (which most of our girls participated in as well) and has just been a big part of our lives.  She loves kids of all ages, even adult ones.  She is smart and funny, and just a joy to be around.  She prays for our kids all the time, and always has time to hear about what they are up to.

We were a bit late to the service, and didn't stop to talk to her, but right there God placed it in my heart to give the mug rug to her.  I didn't see her after the service, but stopped into her office and left it on her desk for her.  She may or may not guess that it was me, but I know that she will appreciate the message!  It made me very happy to think of her smile when she saw it.

Now I am very tempted to try to make more of these, and leave them for people to pick up (kind of like painted rocks, but more useful!) and give them to people that could use cheering up.  It would be a wonderful scrap project and could be done in any color, and a variety of affirming phrases could be used on them.  Maybe a good project for this year, one of my goals is to use my talents to help others more.  I can think of many people who would love a simple gift like this!

In the meantime, I am working on my MiniLove Challenge now!  It is going to be so cute - I had to make 89 little heart blocks.  If you follow me on Instagram, you'll see that I sewed them all too large and had to trim them down...boohoo.  I got the center pieced and am working on the borders.  My first border was a bit too long, though.  I found that I need to make a generous 1/4 inch seam instead of a scant 1/4 inch seam.  Those few threads make a big difference!

Still sewing away...but loving it!  Oh, and since I love minis so much, I am participating in a blog hop next month: Small, Smaller, Smallest.  Should be great fun!


Have a wonderful day!

Sunday, February 11, 2018

Bold and Brave Galentine Mug Rug

This project is a two-fer.  I made it for Project Quilting challenge 9.3- Bold and Brave, and it is also My Island Batik Galentine Challenge!  The fabrics for the quilt top and binding were provided by Island Batik, and the thread was provided by Aurifil.  (Yes, Aurifil makes thread you can use for embroidery - the lettering is done with 12 wt., but they also make embroidery floss!)

My mug rug measures 7 1/2 x 8 inches.  I made it here in Coos Bay, Oregon - we had a lovely week of sun, but today it is rainy.  Good quilting weather!  I sat in my cozy recliner this morning and finished hand stitching the binding and added the embroidery.  I had in mind to embroider the words "be brave" but decided at the last minute to make it "you are loved"

I used a leftover heart from a project you'll see later this week ;) and added strips in a log cabin fashion.  I didn't really measure the strips, but the were all pretty close to an inch wide.  I kind of messed up at the beginning, but decided to bravely go on and finish it despite my goof!

I stitched in the ditch with white 50 wt thread from Aurifil.
And I even hand stitched the binding to the back to make it look extra nice.

I used a gel pen to write my words on the strip below the heart and used a backstitch to embroider the lettering.  The e in loved doesn't look quite right, but it is done.

Now for the brave part! (and the second part of why I made this!)  This is also my challenge piece for Island Batik.   We are celebrating Galentine Day by making mug rugs (or post cards).  What is Galentine Day?  See last year's post for the details - Happy Galentine's Day 

It sometimes slips our mind and we all have people in our lives that we love and appreciate, but we just don't tell them this.  I am going to be brave, open up my heart and give this to someone at church this morning.  I don't know who, but I will find someone who need to know they are loved and will gift them with this.  I tend to be a little shy, so it would be nice to do this anonymously, but I will try to be brave and give it to them directly!  I'll let you know how it goes.  See the rest of the story

I hope you remember to take a few minutes and let the special ladies in your life know that they are loved and appreciated - especially those that might be feeling a little sad and lonely.  Knowing they are loved will mean the world to them, and this time of year can feel even more lonely.

If you are reading this, know that you are loved, too!

Hugs and Kisses from me!


Slow Sunday Stitching